How to Install a Backdraft Damper in 5 Steps
Incorporating the right backdraft damper into your kitchen ventilation system is a smart move for any homeowner. It not only ensures efficient operation of your range hood but also contributes to a more comfortable and energy-efficient kitchen. Whether you're battling cold drafts in winter or trying to keep your kitchen cool in summer, the right damper can make all the difference.


Step 1: Gather Tools and Materials
- Backdraft damper
- Screwdriver
- Duct tape or HVAC tape
- Sheet metal screws
- Drill (if required)
- Measuring tape
- Gloves and safety goggles
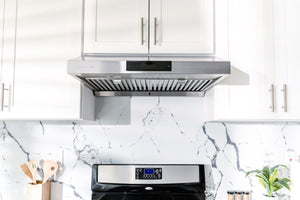
Range Hoods with Internal Dampers
From HAUSLANE
Step 2: Prepare the Backdraft Installation
Safety First: Ensure that the range hood and any connected systems are turned off. Wear gloves and safety goggles to protect your hands and eyes during the installation process.
Access the Ductwork: Locate the ductwork attached to your range hood. This is usually found either directly behind or above the unit.
Step 3: Measuring and Fitting the Damper
Measure the Duct Diameter: Use the measuring tape to determine the diameter of your ductwork. This measurement is crucial to select a backdraft damper that fits snugly into the duct.
Select the Appropriate Damper: Choose a backdraft damper that matches the diameter of your duct. Dampers are typically available in various sizes to fit standard duct diameters.
Step 4: Install the Damper
Insert the Damper: Carefully insert the backdraft damper into the ductwork. Ensure it's positioned so that the damper flap opens in the direction of the air flow, which is away from the range hood and towards the outside.
Secure the Damper: Use sheet metal screws to secure the damper in place. If your damper has a flange, screw it directly onto the duct. For dampers without a flange, you may need to use duct tape or HVAC tape to create an airtight seal.
Check for Correct Operation: After installation, briefly turn on the range hood to ensure that the damper opens and closes correctly. The damper should open when the hood is operating and close when it's turned off.
Step 5: Finalize the Damper Installation
Seal the Connections: Use duct tape or HVAC tape to seal any joints between the damper and the ductwork. This ensures no air leaks out of the connections.
Test the Installation: Turn on the range hood and check for proper airflow. Confirm that the backdraft damper opens with the airflow and closes when the hood is off.
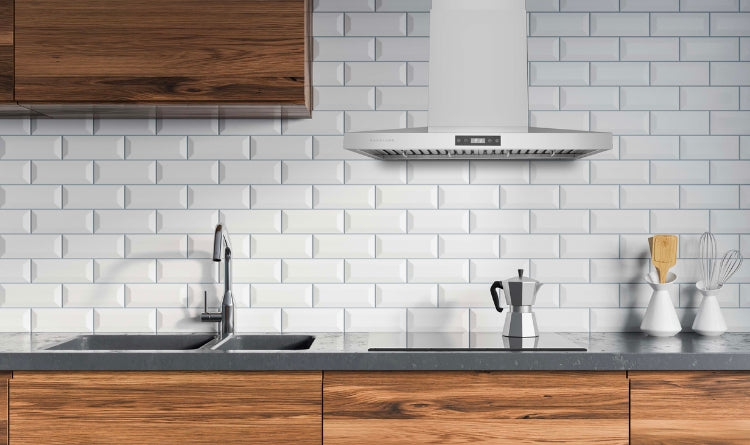
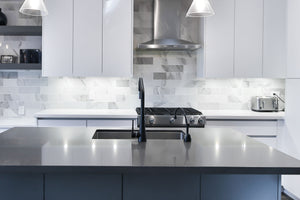
For optimal kitchen ventilation, consider upgrading to a Hauslane range hood.
Our range hoods are designed for easy integration with backdraft dampers, ensuring a cleaner, more efficient kitchen. Explore our selection and find the perfect range hood for your kitchen today.
Related Posts