TIPS & GUIDES
How to Install a Ductless Range Hood
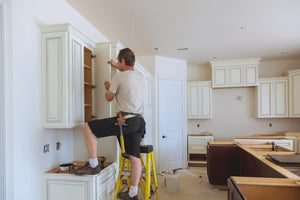
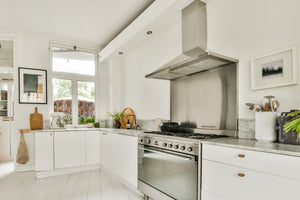
By Hauslane ∙ 12 mins readCongrats on your new range hood! Now, you’re probably wondering how to install the appliance in your kitchen. If you have a ductless model, the installation will look a little different. The good news is there are actually fewer steps!

To start, gather all the necessary tools:
✦ Safety gloves
✦ Safety goggles
✦ Pencil
✦ Philips screwdriver
✦ Flathead screwdriver
✦ Needle nose pliers
✦ Electric drill
✦ Level
✦ Hammer
✦ Measuring tape
✦ Tape
✦ Utility knife
✦ Adjustable wrench
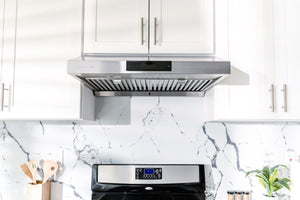
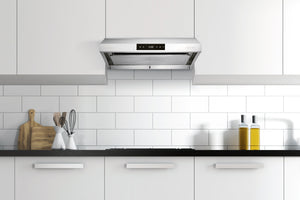
Carefully read through each step of your manual before beginning. You’ll likely want a helper during the project. For the purpose of this article, we’ll be referencing the manual for our model, WM-530. This range hood features a chimney style and wall mount base.
1. Installation Drilling and Lining
Start by drawing a vertical line on the supporting wall up to the ceiling or as high as you can. This line should be placed at the center of the area where you will install the range hood.
Then, draw a horizontal line at a minimum of 24 inches and a maximum of 30 inches above your cooking surface. Carefully observe this range. You don’t want to place the range hood so low that it could start a fire or so high that the appliance can’t work effectively.
2. Chimney Mounting Bracket
Now you’re ready to place the chimney mounting bracket on the wall. Place it about one inch from the ceiling or upper limit aligning the center (notch) with the vertical reference line.
3. Mount the Hood
Mount the two hood body mounting screws with the drywall anchors into the wall along the line that is 11-4/5 inches above the horizontal line. Be sure they are parallel with the horizontal line.
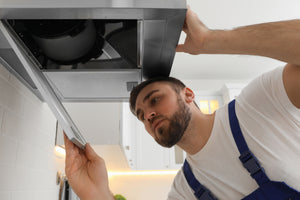
4. Hang the Hood Body
Then, hang the hood body onto the screws that are mounted onto the wall. Securely tighten the secures to secure the hood body onto the wall. Finally, install two additional hood body mounting screws (AA) into the auxiliary mounting holes to secure the hood body (A) in place.
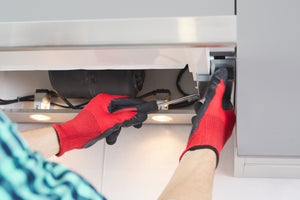
5. Install the Bottom and Top of the Chimney
Carefully slide the chimney bottom down outside the chimney top partly. Next, carefully place the chimney bottom into the recessed area of the hood body top. Make sure the chimney mounting bracket is securely attached to the wall.
6. Secure the Chimney
Raise the chimney top up inside the chimney bottom. Secure the chimney top to the chimney mounting bracket with chimney mounting bracket screws from two sides.
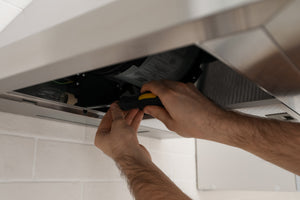
7. Convert to Ductless
Install the charcoal filters to convert the range hood to ductless. Remove the out filters. Apply the charcoal filters to the suction unit inside the hood. Make sure they are centered and turn them 90 degrees to snap them into place. Replace the outer filters.
Once you’ve finished installation, turn on the range hood and make sure it operates correctly. For best results, replace your filters at least every 3 months. They should not be washed or reused.
Wondering how to best take care of your range hood? Take a look at these 7 tips for simple maintenance.
For additional assistance, contact a Hauslane expert.
Related Posts